

6 Minute Read
March 21, 2023
0%
Part L, or Document L, is an amended building standard that decrees all new dwellings should be built with the aim to increase conservation of fuel and power. The standard is divided into part L1A, which covers new builds, and part L1B, which covers renovations to existing buildings.
High-resolution images must be taken of each detail within a plot, at least one photo per detail, per plot. Where the detail is not clear from the initial photo, there must be additional close ups taken to clarify the detail. Field View can capture these photos and supporting information in a paperless format for storage throughout – and beyond – a project’s lifecycle.
Part L compliance is a small fraction of what Field View can do. Any form or approval process you currently do with pen and paper – Field View can replicate and improve. From toolbox talks to site diaries and quality checks to project progress, employees can spend less time handling paperwork and more time being productive on-site.
But for today’s example, we’re going to run you through an example scenario of collecting important information, required for Part L, whilst on the construction site.
Firstly, the user accesses the system through their account. As you can see, they are shown a predefined geometry of the project they’re working on, which your business can define. In this case, the project has been broken into different plots. This example plot has been broken down into different levels and then into different rooms within each level.

There is also plan view and specific location view, but for this walkthrough, we're going to concentrate on looking at the plots overall.
In the example, what we’ve done is create a process in the system against each of the plots. If we hover over the action panel and click on ‘Process’ we have a Part L photographic evidence process which is made up of five different parts. These are the five areas we’re collecting information for on this project for each of these plots.

This is just an example of how it might work. We’ve created these five items here based on our interpretation of the published documentation, but the wording and statuses are all fully configurable.
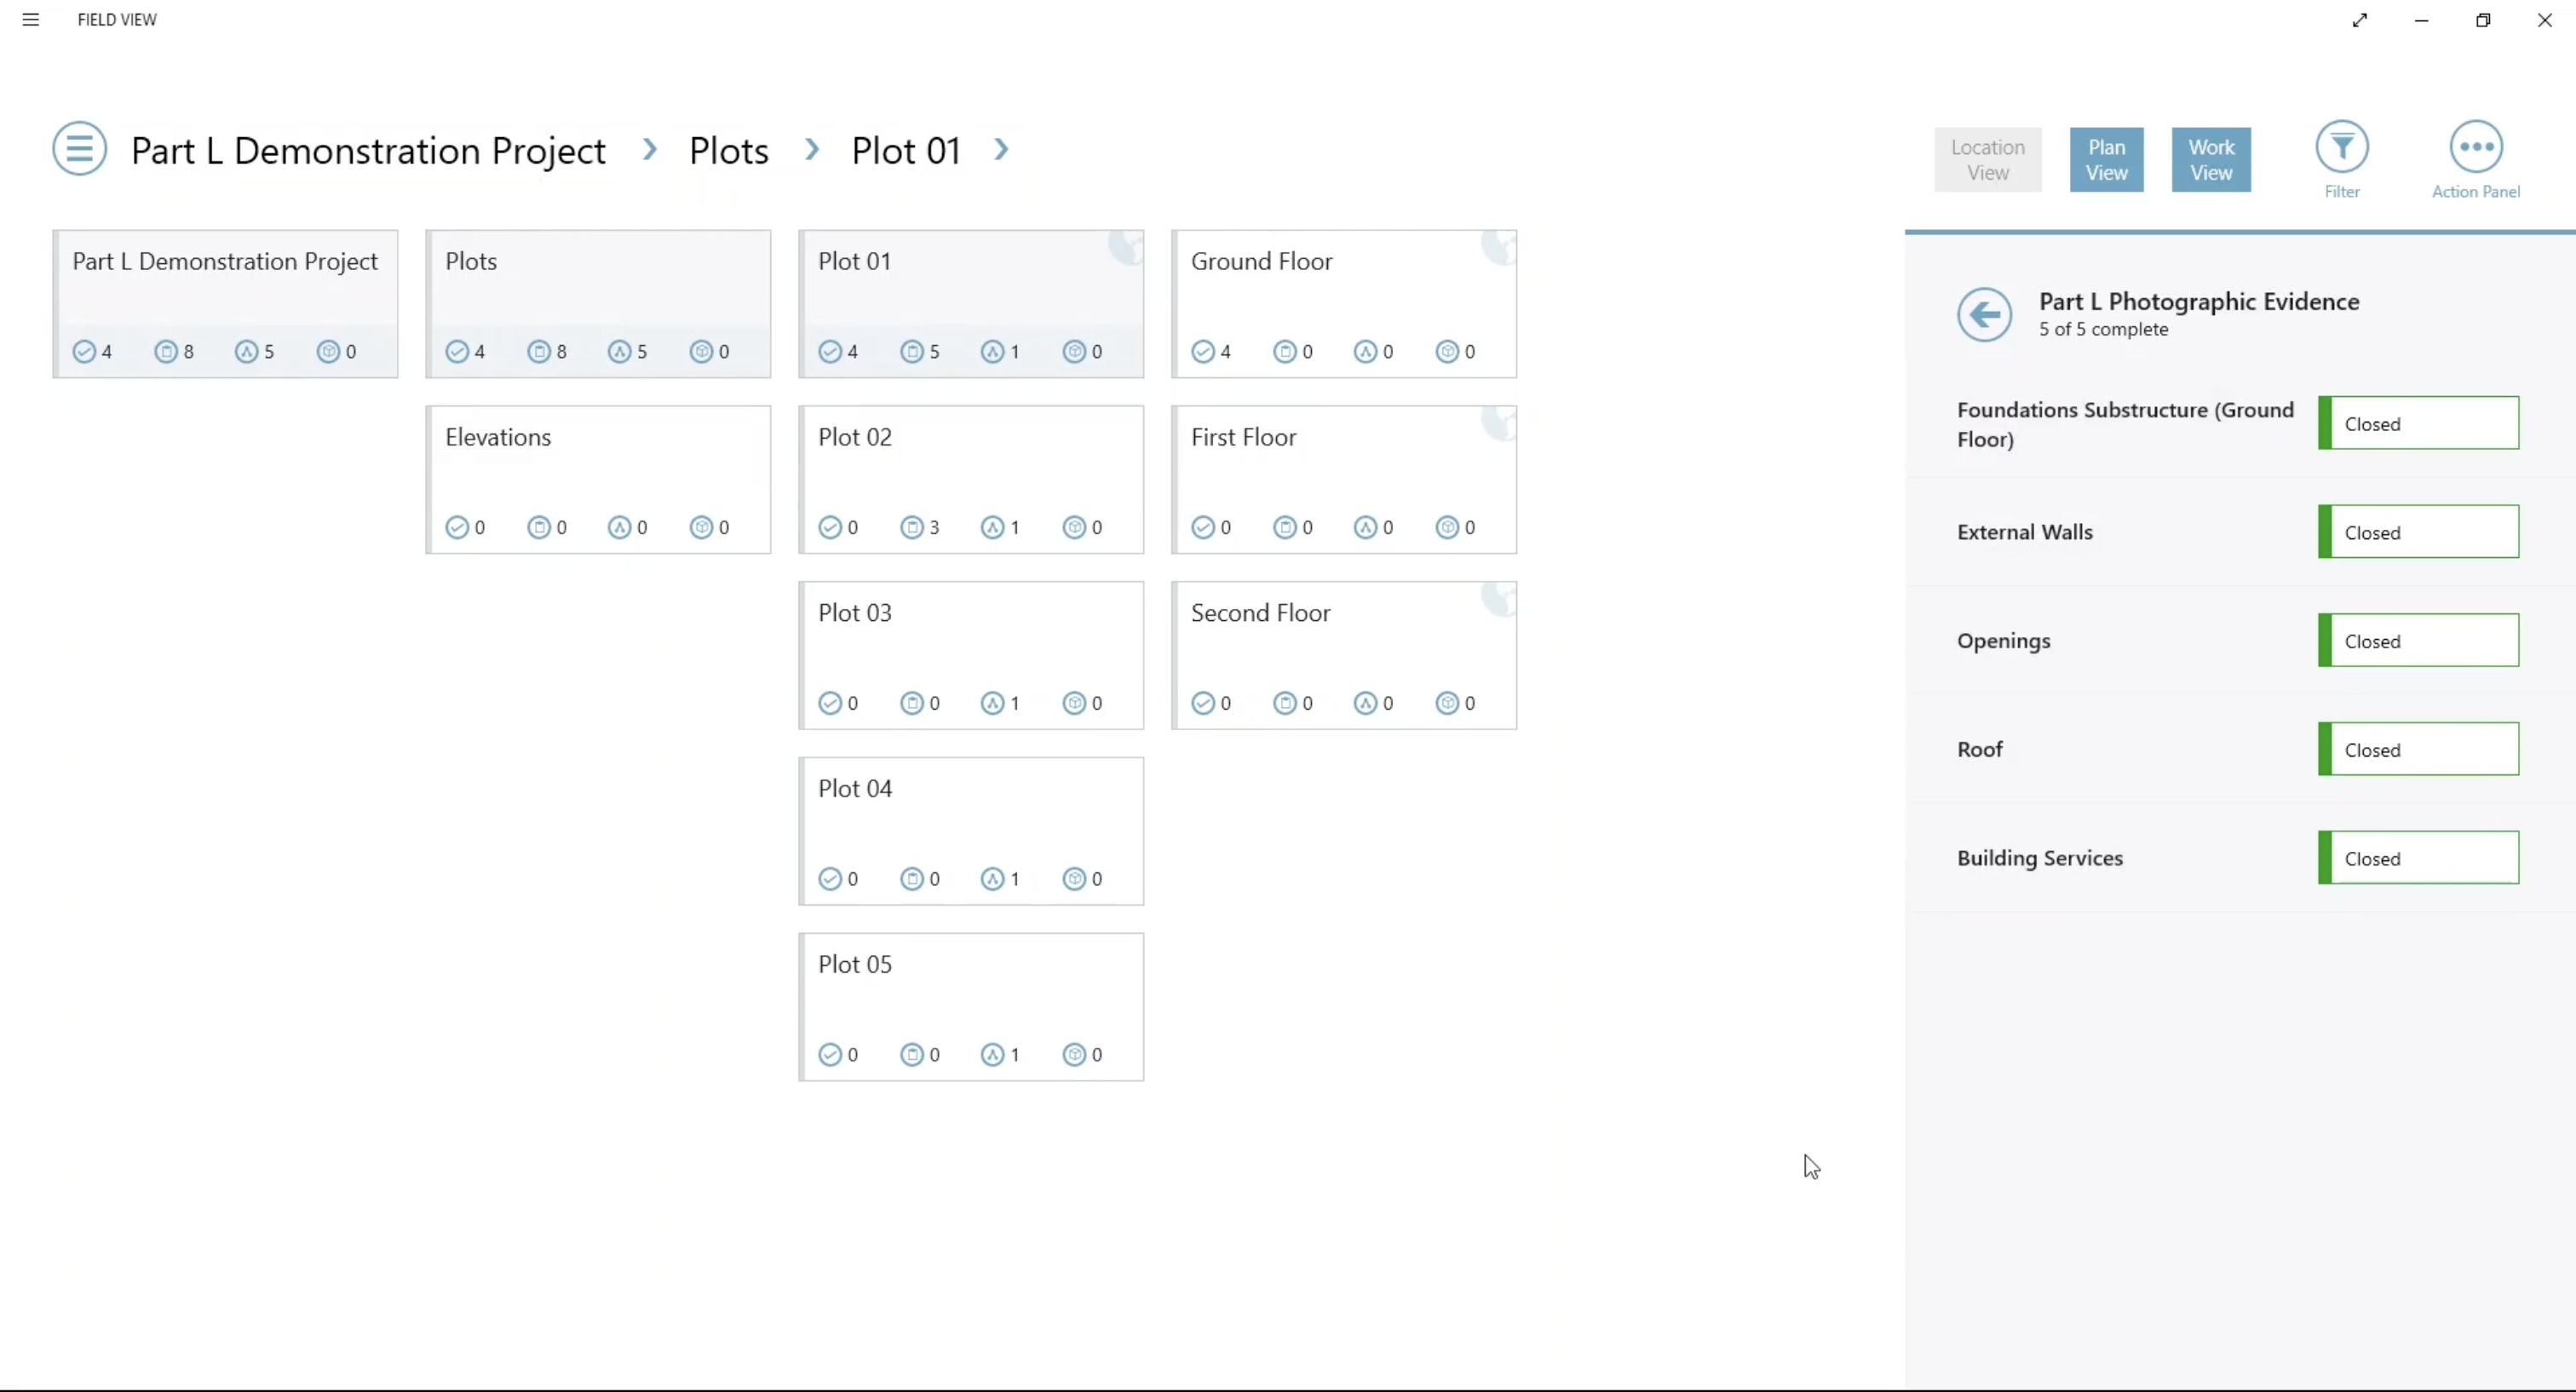
This process has been assigned to several plots on this project, each with their own statuses of where they're up to at the moment. When these first get assigned, they will be classified as ‘Not Started’. Users in the field can start updating this to give live progress of where you are collecting this information.
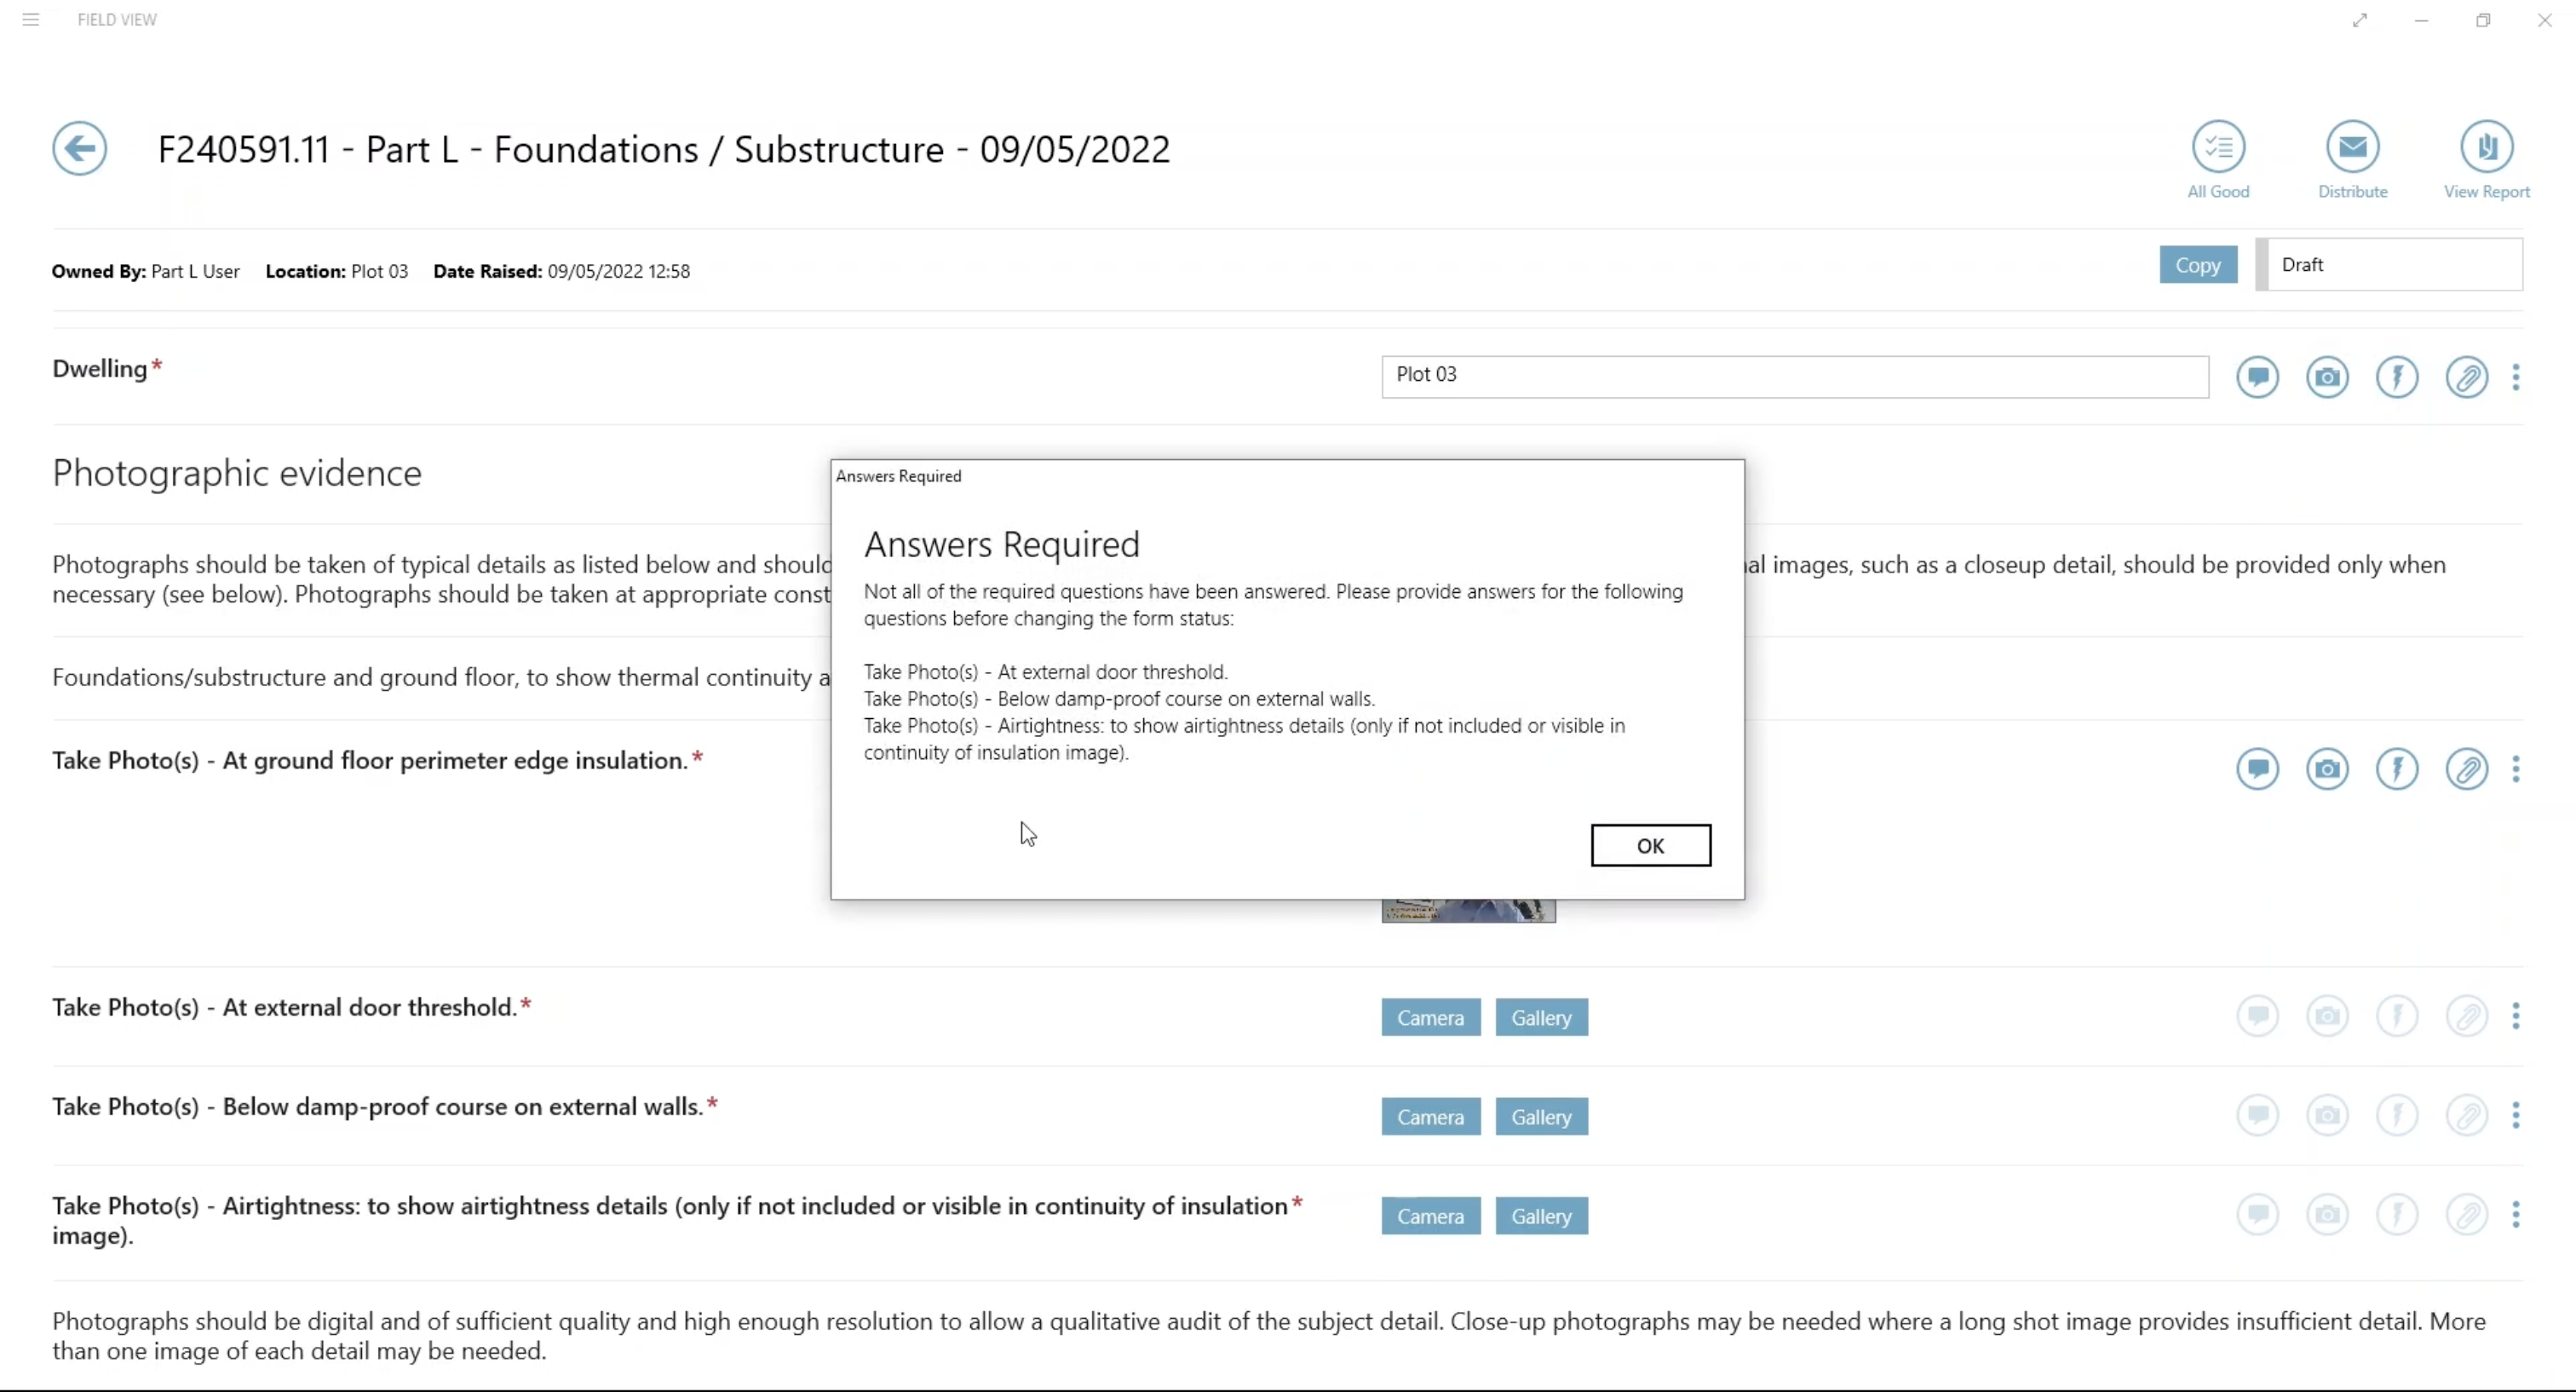
Once this is in progress, if a user tries to sign this item off or close it out, it tells them to complete a form. If the user clicks on ‘Attach Form’ it will load the form. So we’ve got the plot, with all of the guidance around the photographic evidence that needs to be collected.

In this case, there are 4 questions to collect information along with photographs from the camera or imported from the gallery.

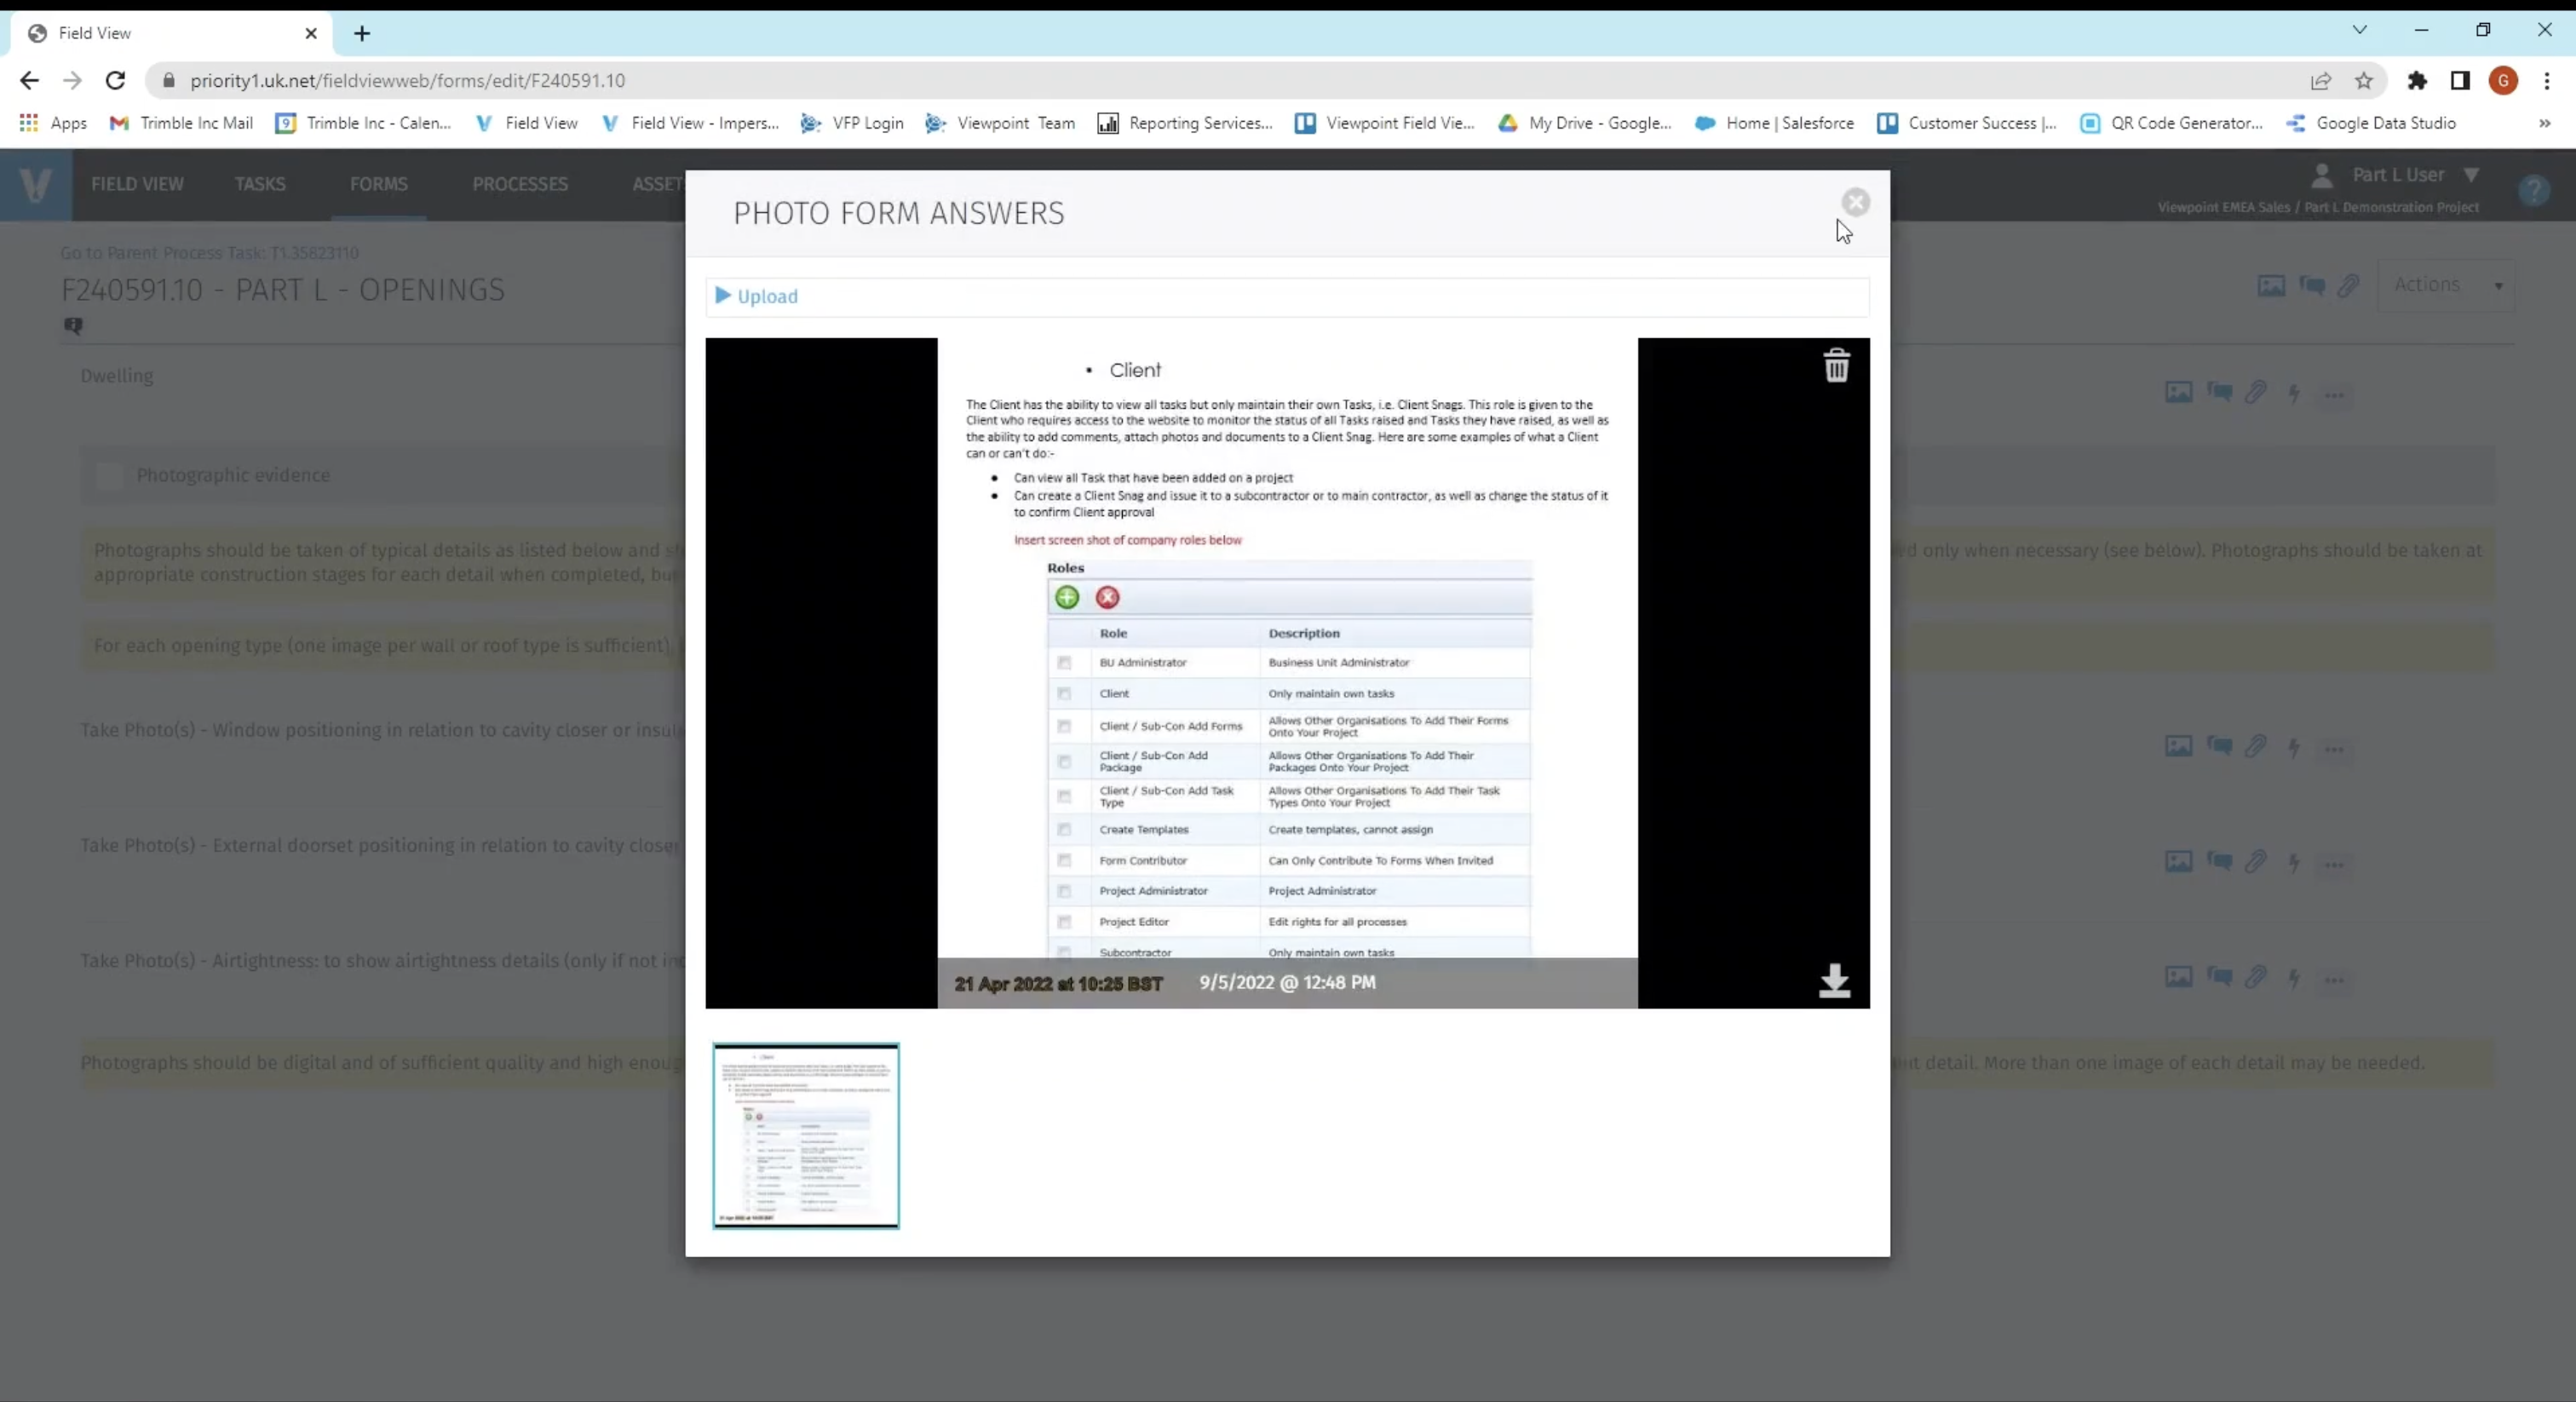
Users can take pictures directly from the tablet or mobile device, or upload existing photos from the devices library. Any of the pictures that are taken with Field View will automatically be stamped with the time and date and location, as well the option to annotate on top of any of these items.

The questions with red asterisks have been made mandatory, so the user is not allowed to skip over any of the questions. So that’s going to ensure that you collect, in this example case, at least one photo against each of the questions.
The next step is getting this form approved. In this example, we are assuming that there is approval required, so we click on send to approval and notify the relevant people. This is waiting to be approved and this could also be set up in a way that only a certain user(s) has the rights to move it to send for approval.
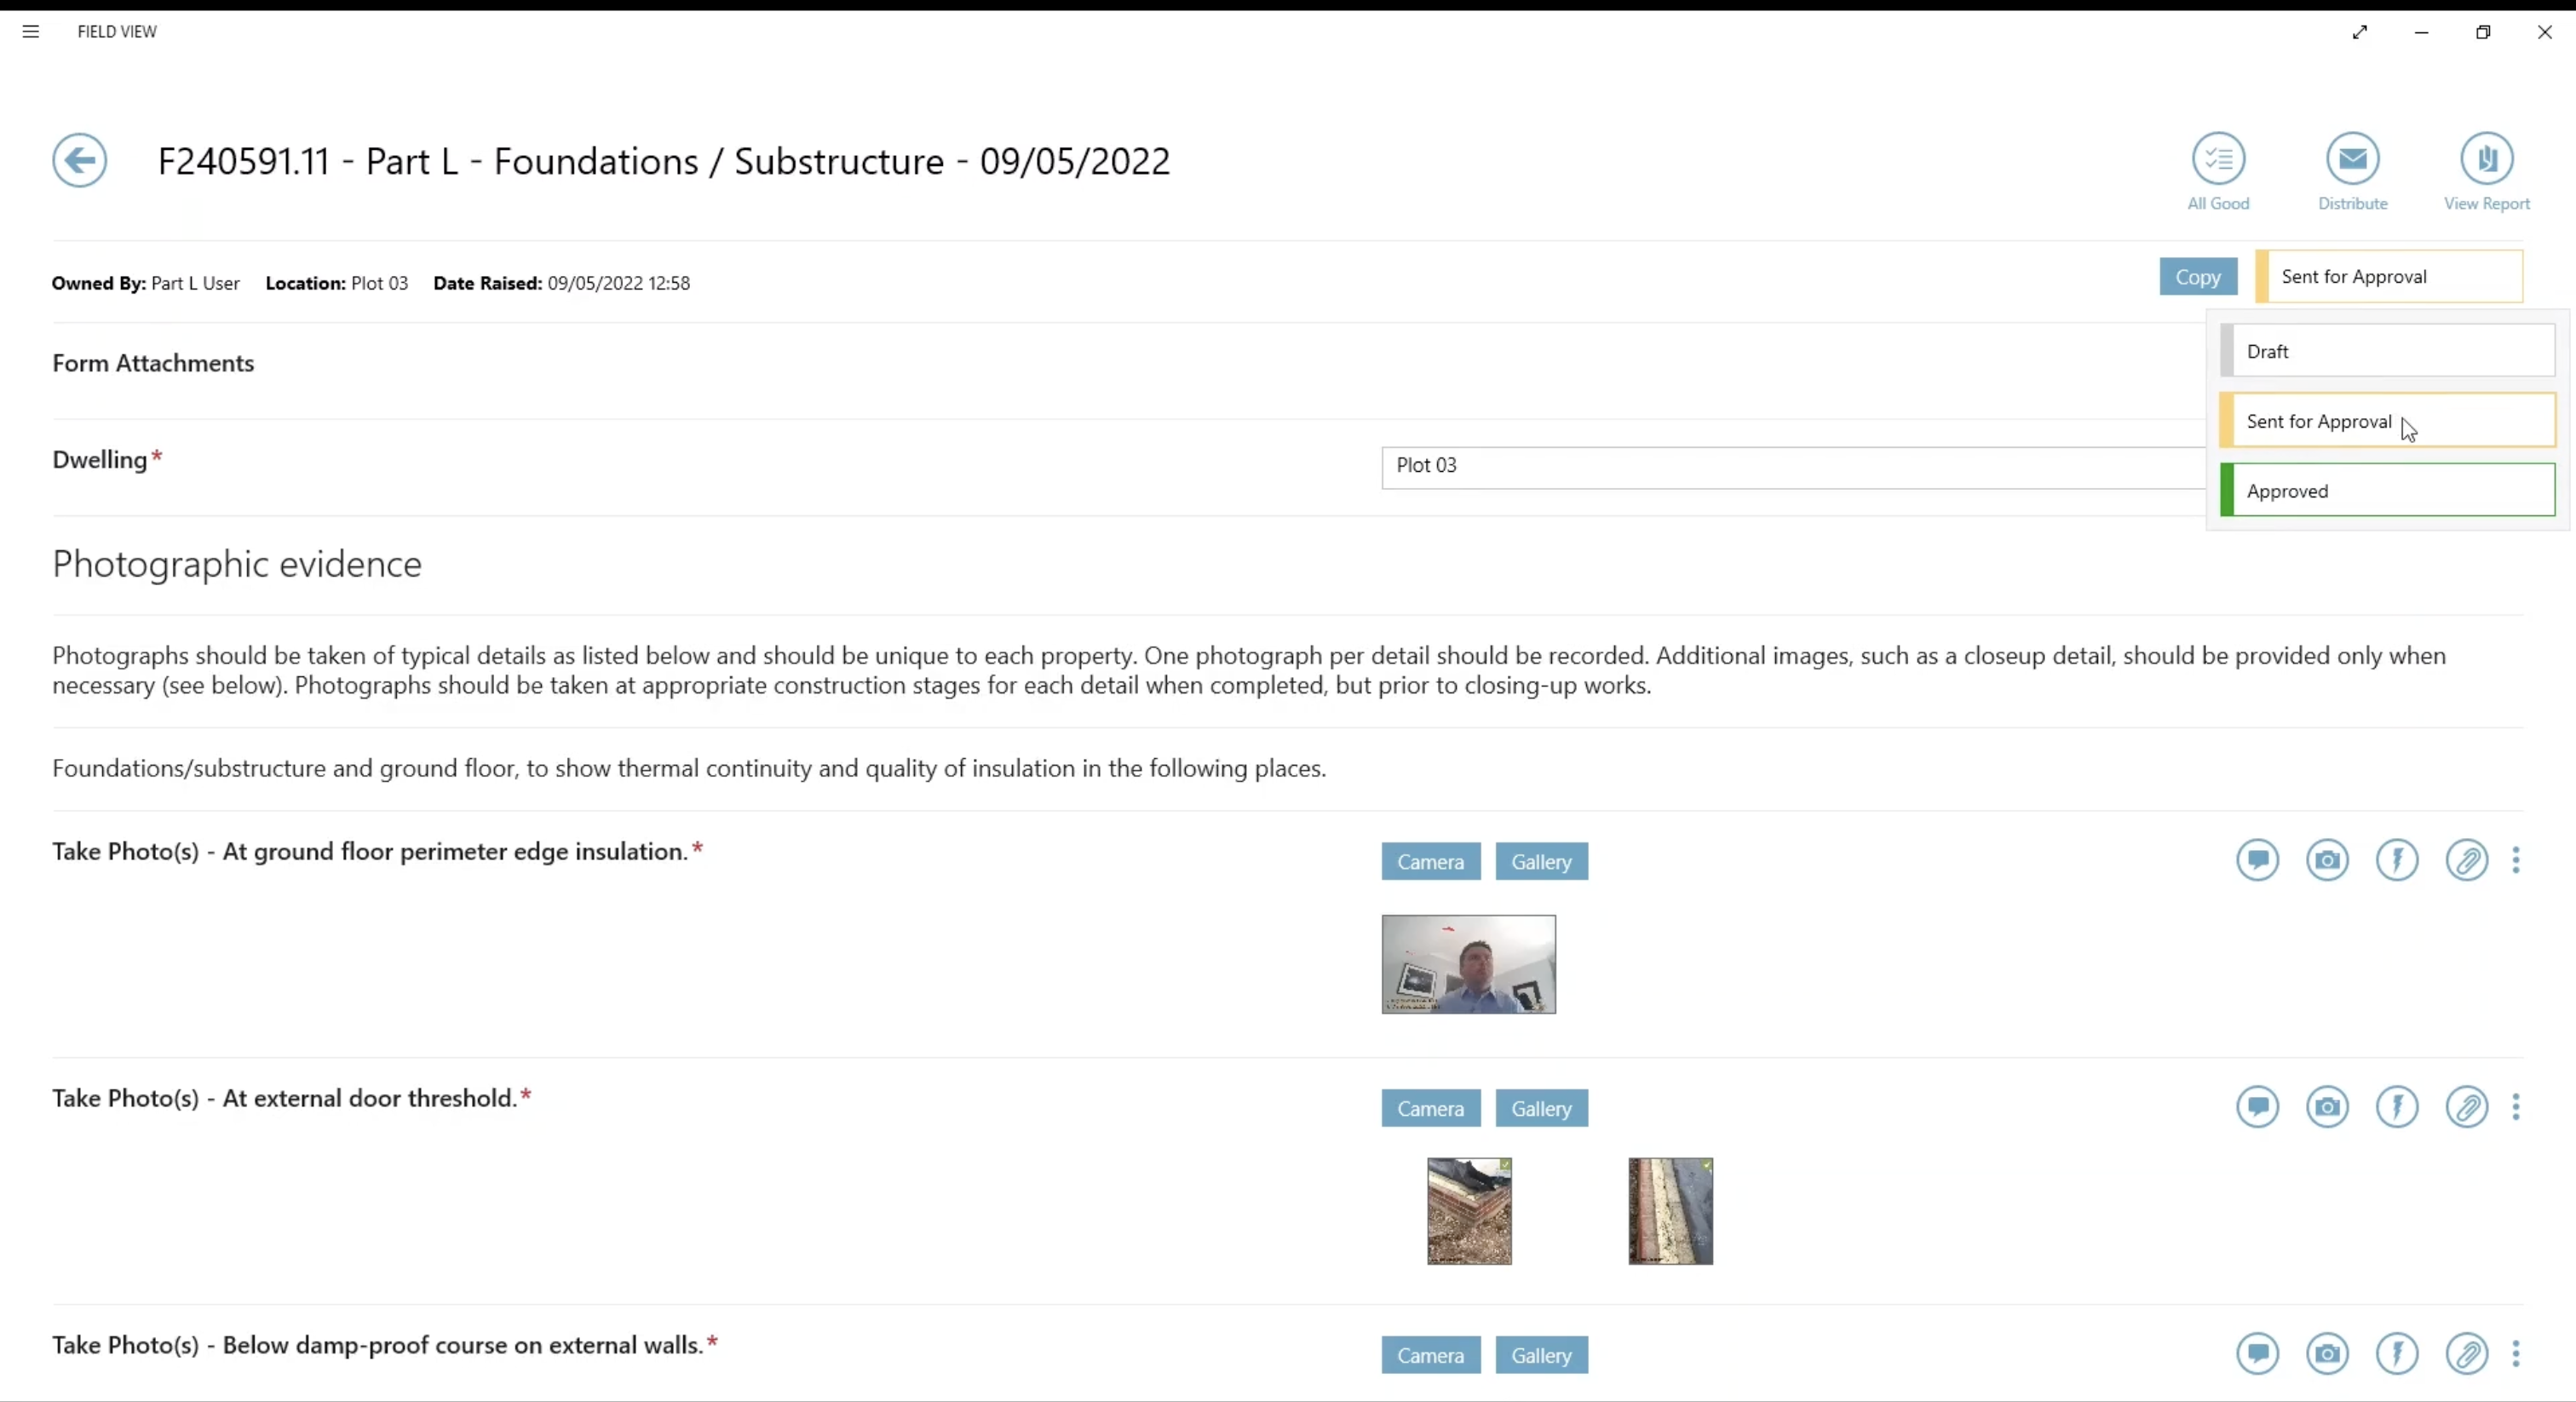
The person who needs to approve can access Field View through tablet or web browser. Once we’re happy with the quality of the photos provided, we move this to ‘Approved’. Now the system is confident we’ve filled out all of the required information, we can now close this task out.
Note: we have complete admin rights for this example, so we're able to move it to 'Approved' from within the task.
Now, let's move onto how this looks from a web-based browser view.
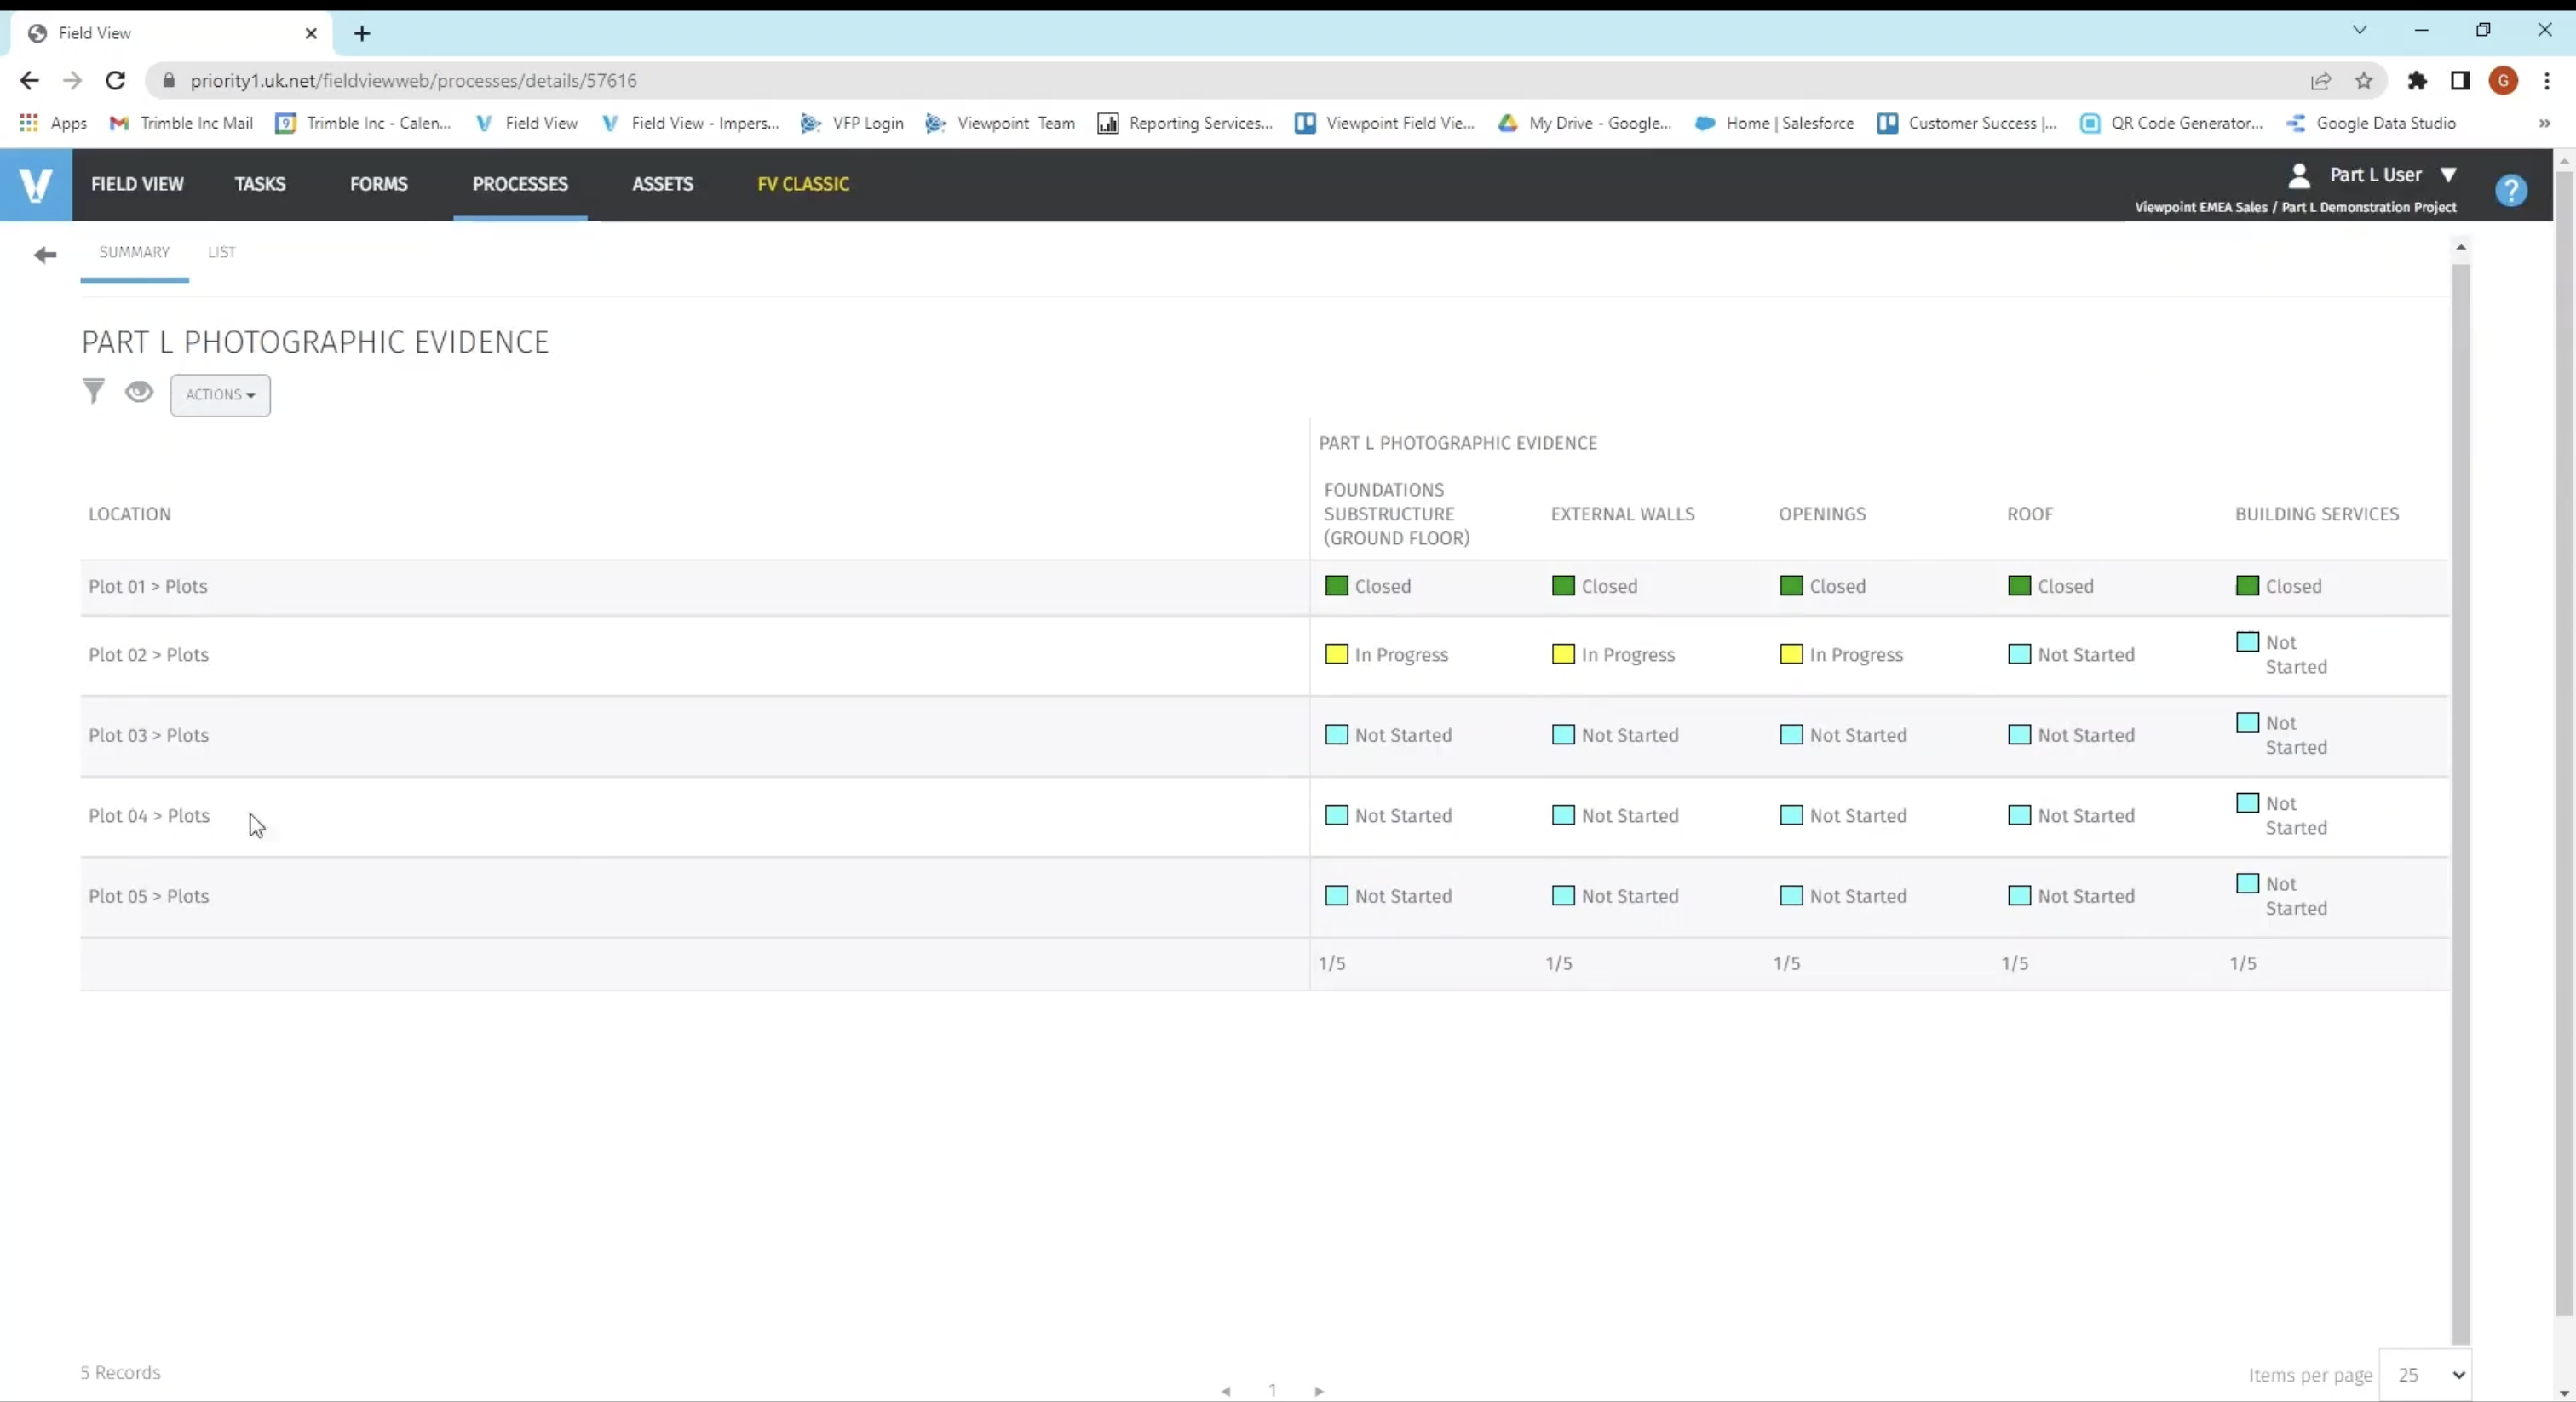
Let’s imagine we’re back in the office, accessing Field View from a web browser. We’ll go back to those processes that we were just looking at.

If we click on the photographic evidence section, it will open up all the related information and live progress of where we're at. If a task says ‘Closed’, we can be sure that if we go to associations because of the rules we’ve set in the system, that all of the photos or other information that you decided to collect will be sitting behind this. This can also be filtered by different locations or organisations.
If we click into forms, it will show a list of all of the forms. In this example, we’re just focusing on Part L forms. Usually, organisations will have lots of different types of forms inside of the system and it will list them all out. So, we can see exactly what's sent for approval and what's currently approved. You can click into any of these as well in the same way as you could with the tablet.

Here, we can view these photos or add new photos inside of here if we need to. We can filter this information by different form styles, types, current statuses. We’ll have a look at what is sent for approval at the moment.
And then lastly, everything we do on here leads to the dashboard. When a user first logs into the system, they get a default dashboard, But you can also create your own dashboard as a user. This has just been set up to show me Part L photographic progress. This is looking at the processes and it's telling us we're 20% through taking the photos for the foundations substructure.

6 Minute Read
March 21, 2023
1 Minute Read
February 28, 2023
1 Minute Read
March 30, 2023
Get in touch with us
Request a demo, pricing or information.


We’re not only able to win more jobs, but our jobs are a lot more profitable.
— Aaron Thomas, Accountant, Pieper-Houston Electric L.P.